Dictate
💡
An easy to use way to record dictations!
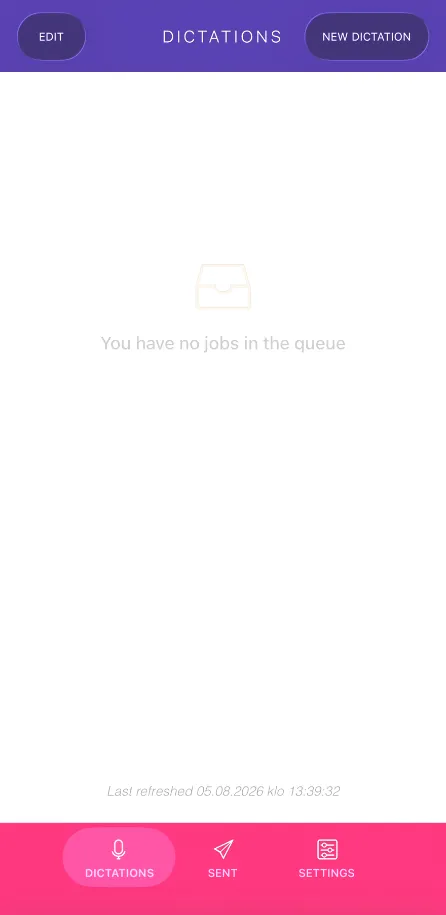
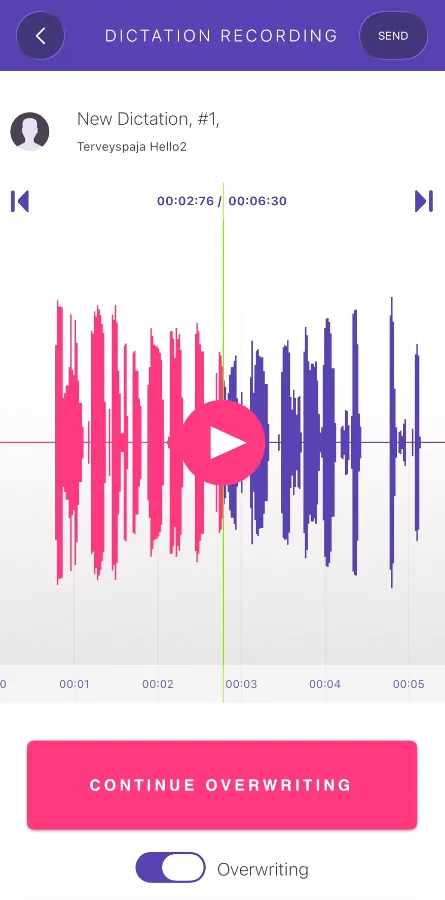
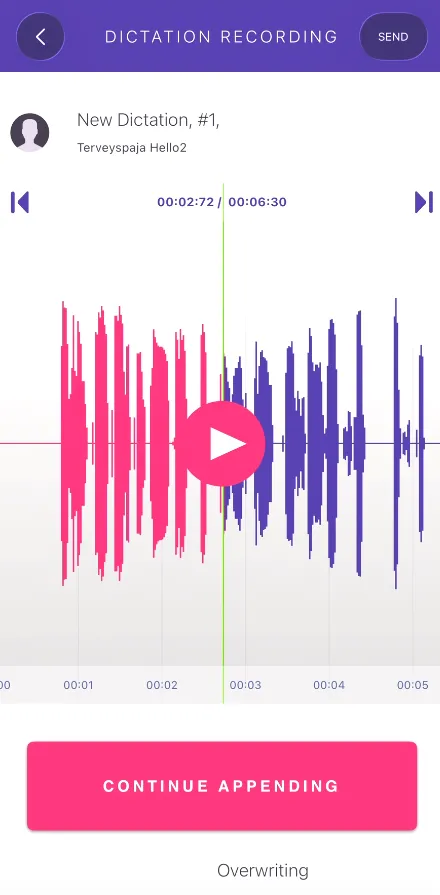
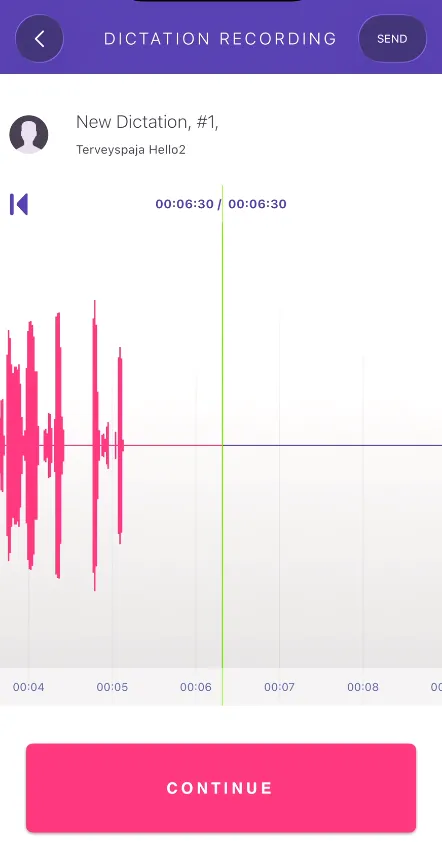
New dictation
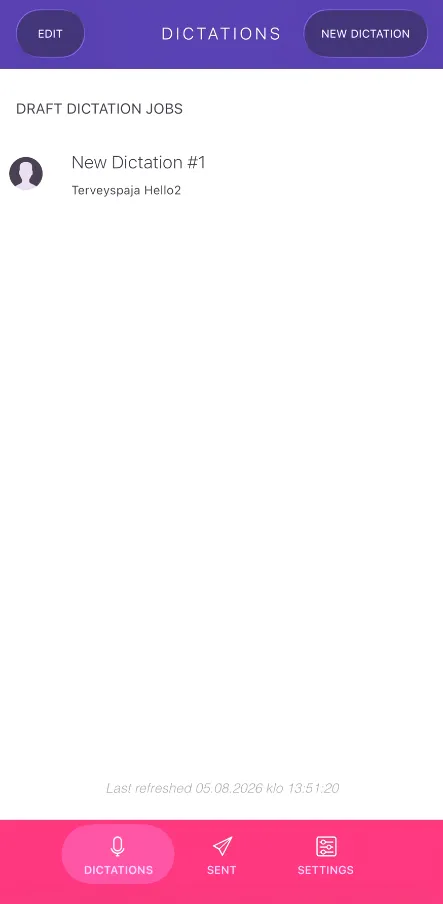
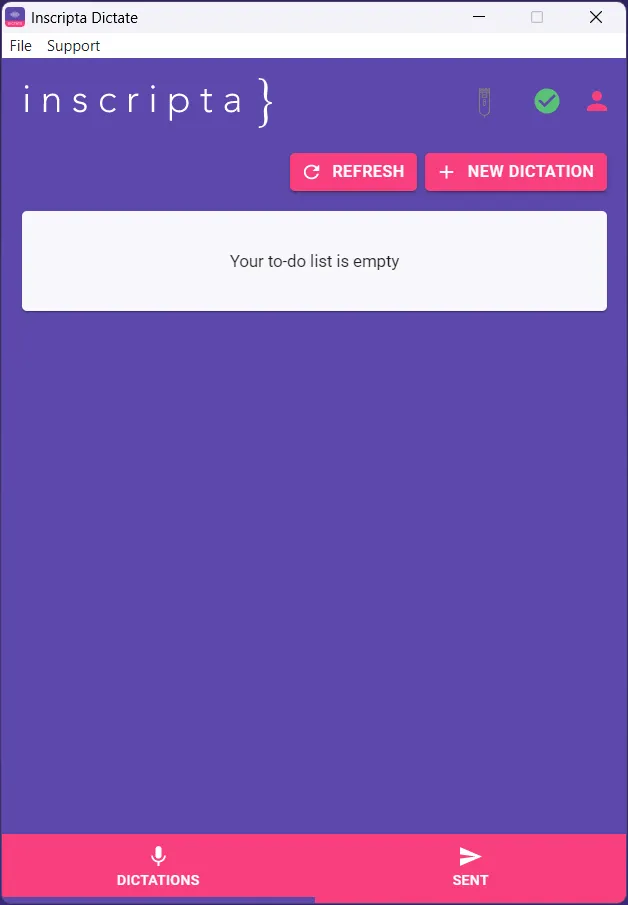
- Click on the NEW DICTATION button to start a new dictation.
- If you work for multiple clients, select the correct one in the menu (SELECT CLIENT).
New dictation
Dictation view
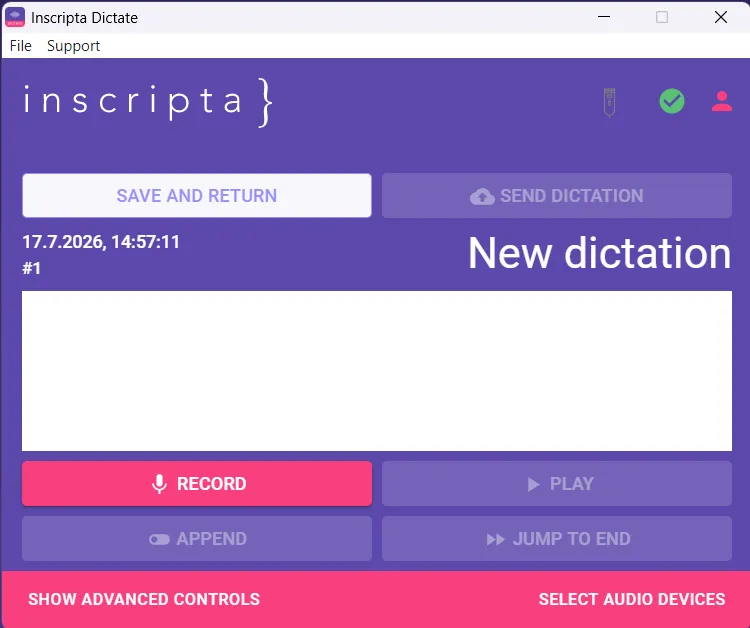
- Click on the RECORD button to start recording a dictation. The same button works for start and stop. While recording, the button will display the text RECORDING, CLICK TO STOP.
- The dictation can be listened to by clicking on the PLAY button.
- The dictation, or parts of it, can be re-recorded by clicking on APPEND. The button will display the text REPLACE when re-recording is on.
- New parts can be added to the dictation by clicking on a point in the dictation and clicking on RECORD. Note that APPEND needs to be disabled then.
Dictating
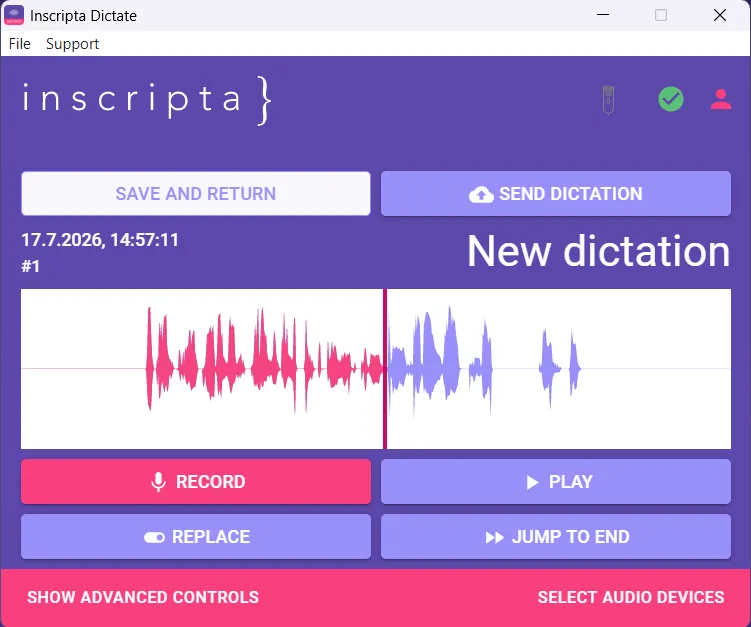
Recording
- By clicking on SHOW ADVANCED CONTROLS, the dictation view can be changed from buttons to icons.
- Which microphone is used can be checked by clicking on SELECT AUDIO DEVICES.
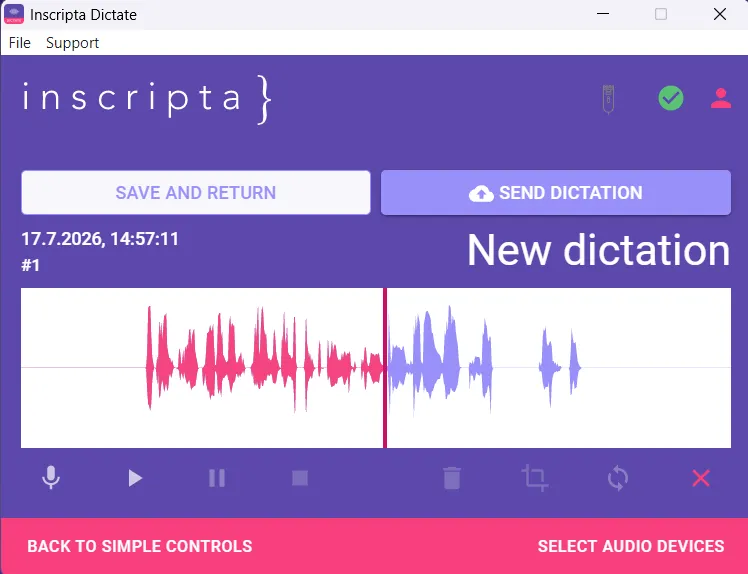
Advanced controls
Saving the dictation and sending it
- Click on the SEND DICTATION button when the dictation is ready.
- Choose the correct priority.
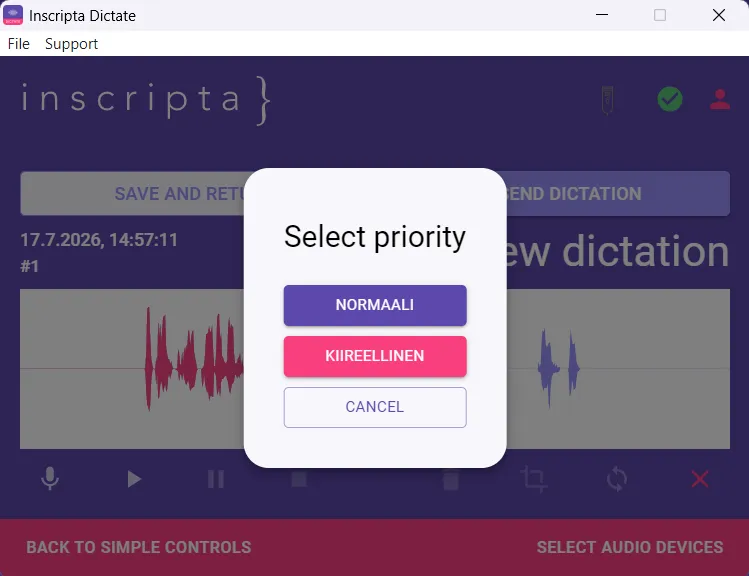
Priority
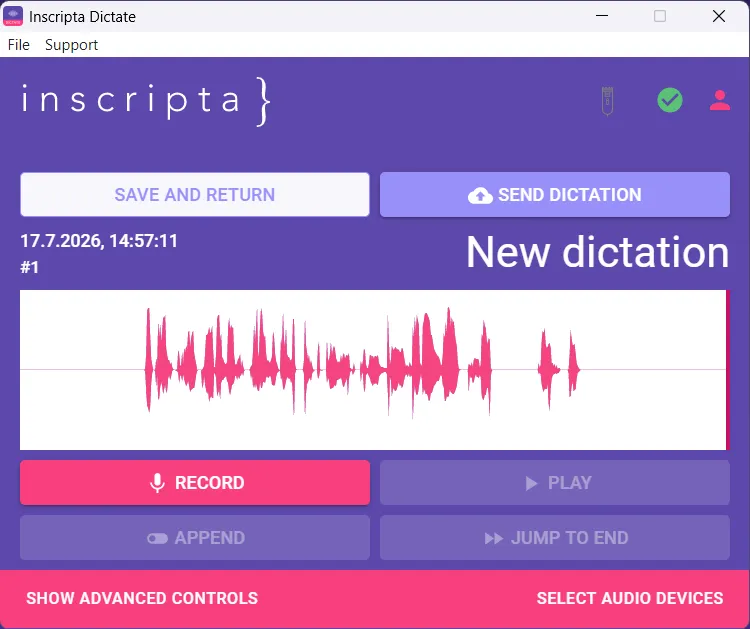
Send dictation
- The dictation can also be saved and edited later by clicking on SAVE AND RETURN.
- Saved dictations can be found in the DICTATIONS view.
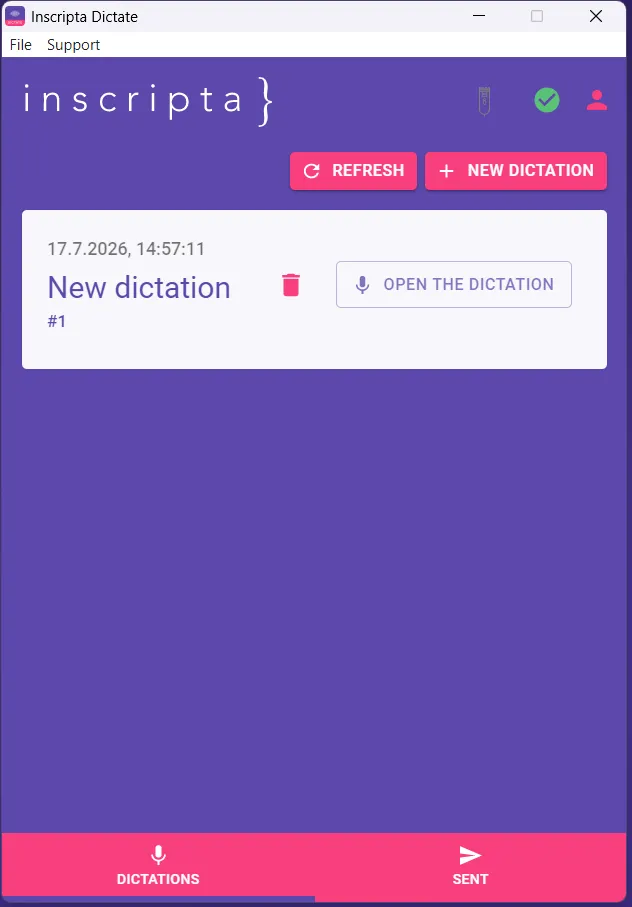
Saved dictation
- After choosing the priority for the dictation, you are taken back to the DICTATIONS view, where the dictation can be sent straight away.
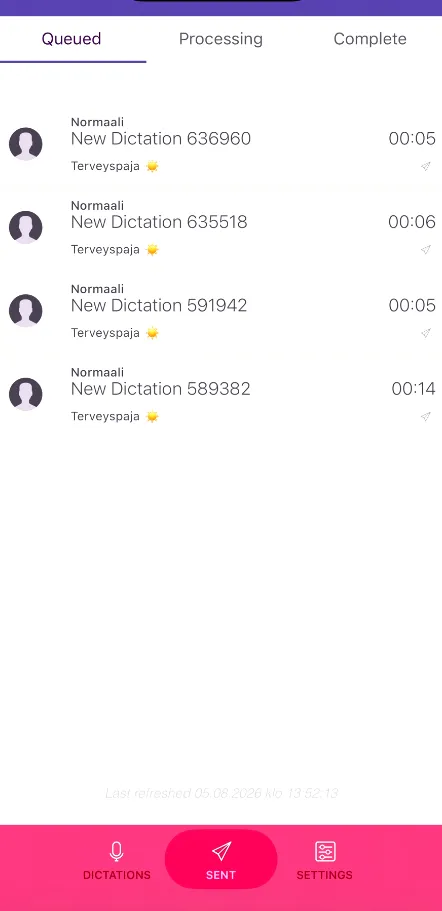
- It is possible to edit the dictation as long as the dictation sending is pending.
- Sent dictations are listed in the SENT view.
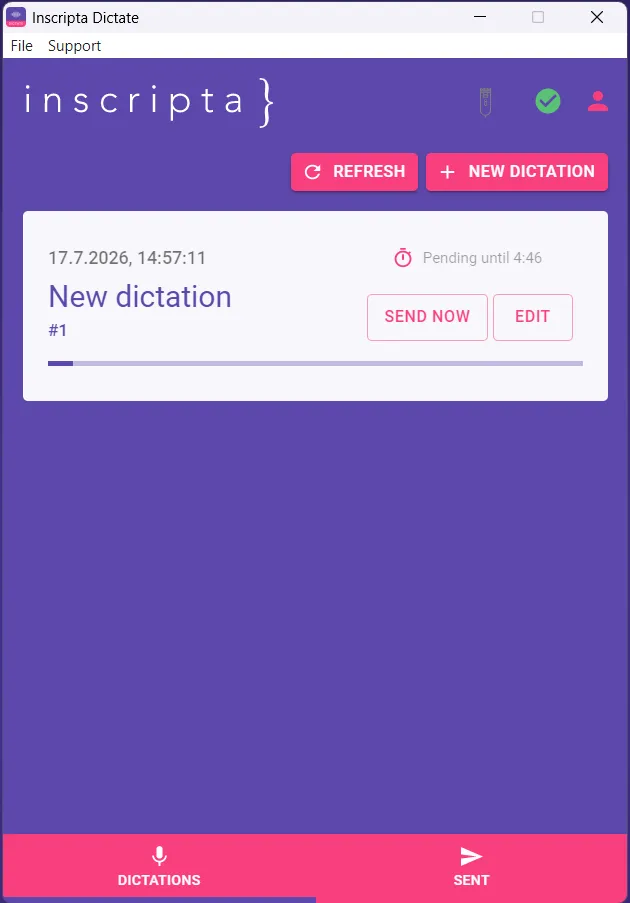
Sending pending
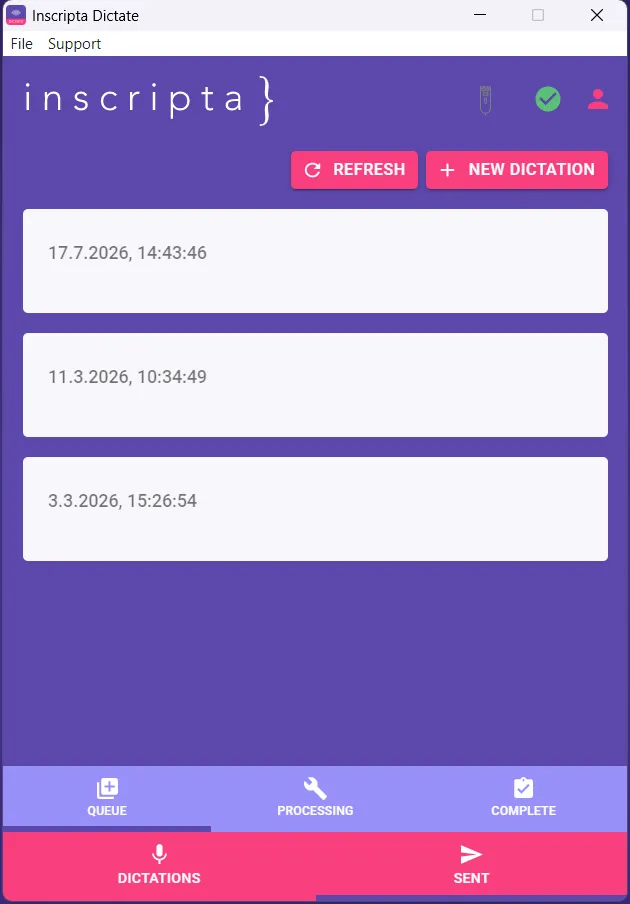
Sent dictations
Ready!
- When the dictation is completed and sent, it goes through the automatic speech recognition (ASR) and is converted into text.
- The text is transferred to the transcription platform (Transcribenscripta Medical) for further use.